
AI face editor: how to remove a beard, try on braces or change eye colour in a photo
Upload a portrait — the generative model repaints only the area you need: a cleanly shaven jaw, orthodontic braces or a new iris colour. Background, lighting and framing stay untouched, so the result looks like a real photo rather than a rough collage.
Face editing before and after
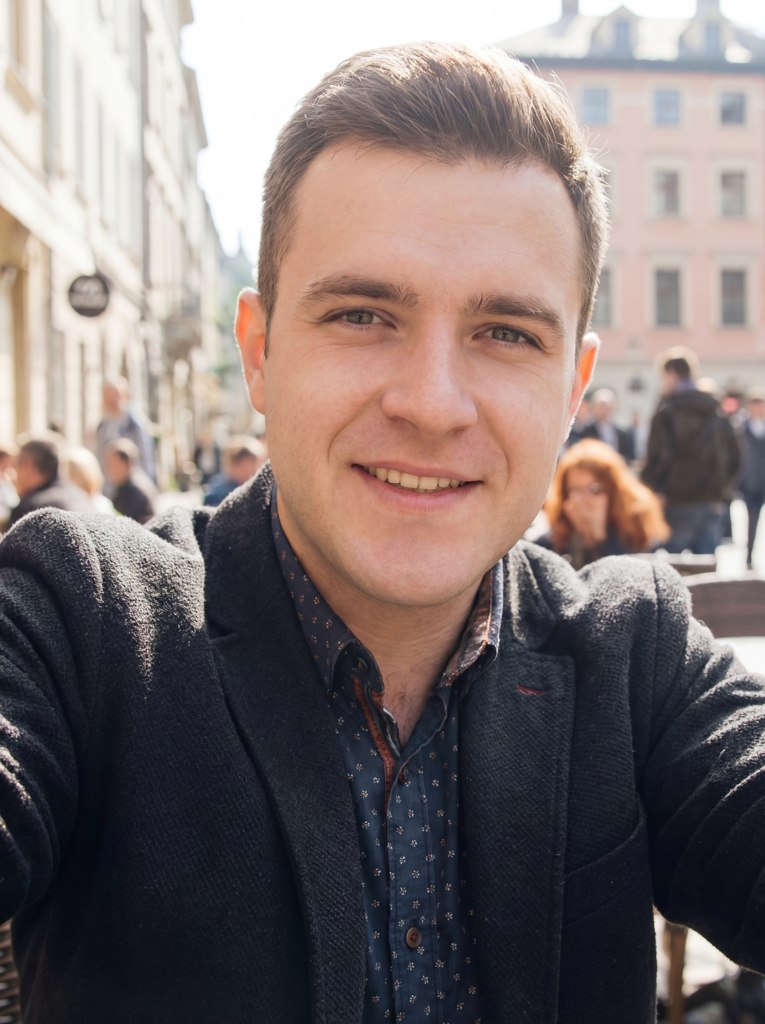
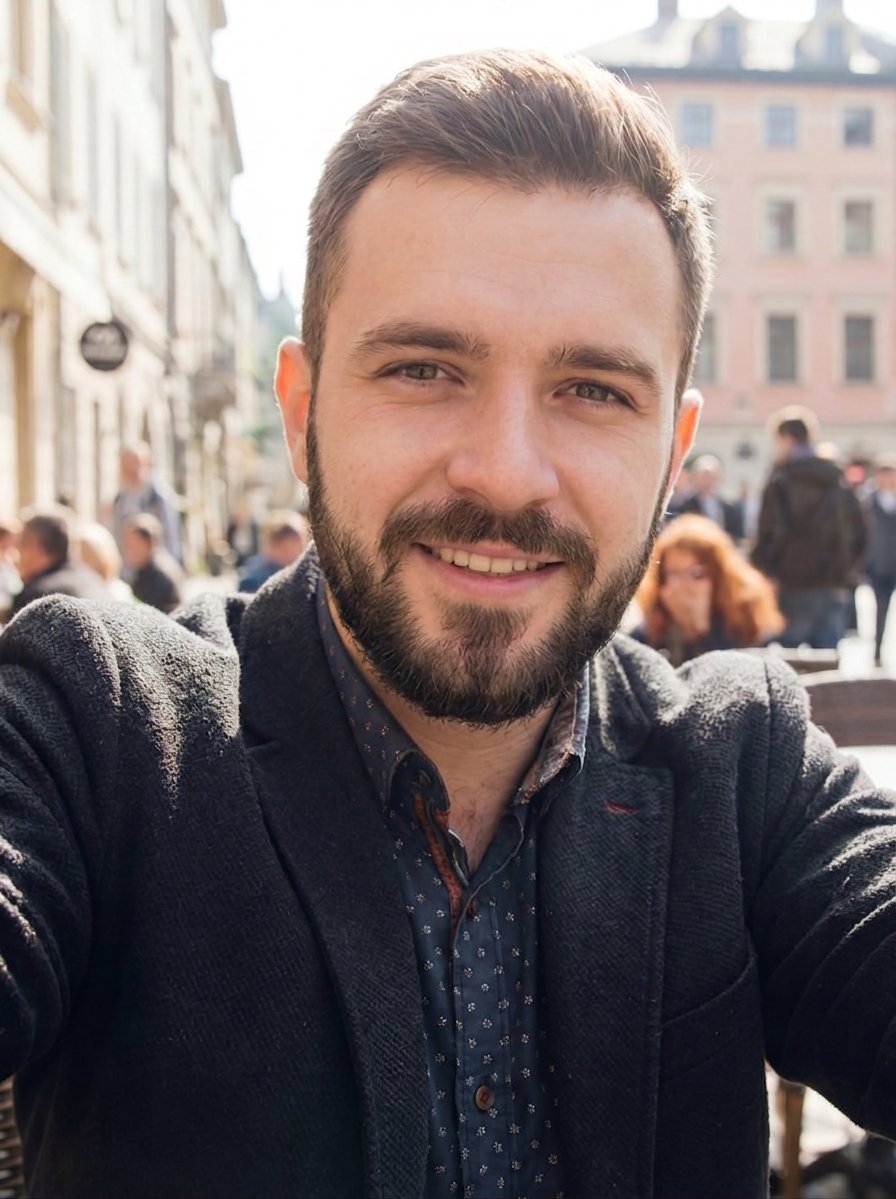
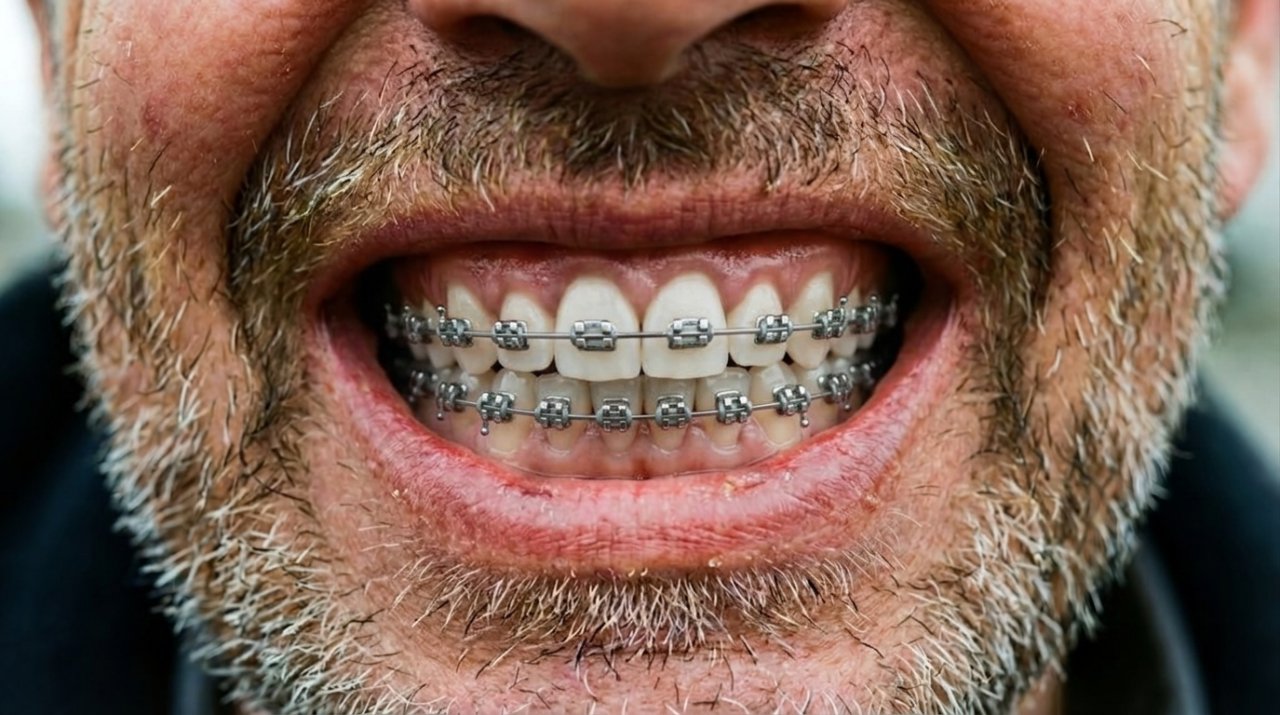
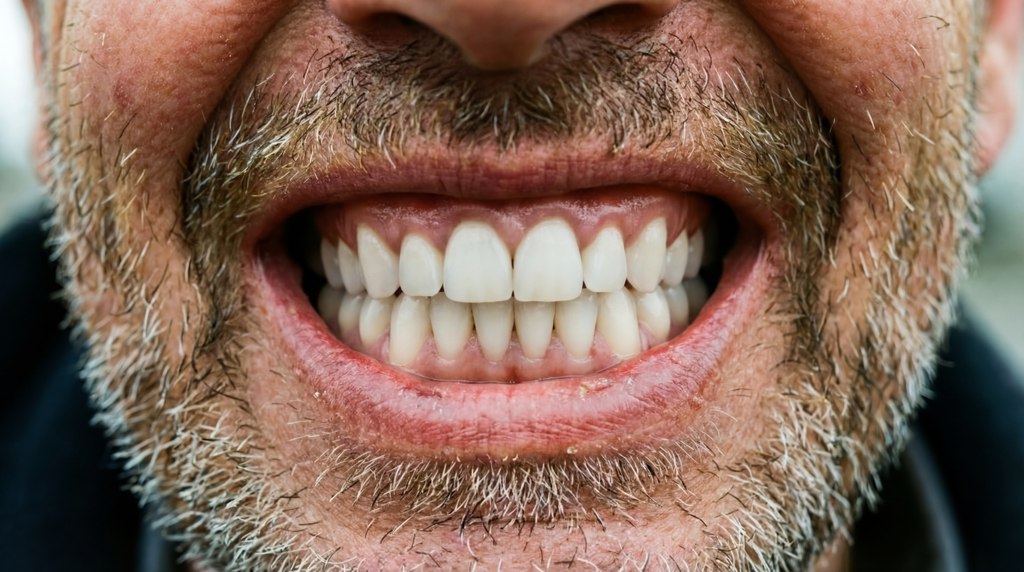
Drag the handle: on the left is the original shot, on the right the AI result. The model maps facial landmarks and repaints the edit area inside a layer mask, so clothes, background and lighting stay exactly the same.
 BeforeAfter
The model detects the jaw and chin contours, removes facial hair and repaints clean skin texture — no plastic look and no smeared edges.
 BeforeAfter
Braces and archwire follow the shape of the dental arch instead of being pasted on top of the smile as a flat picture.
 BeforeAfter
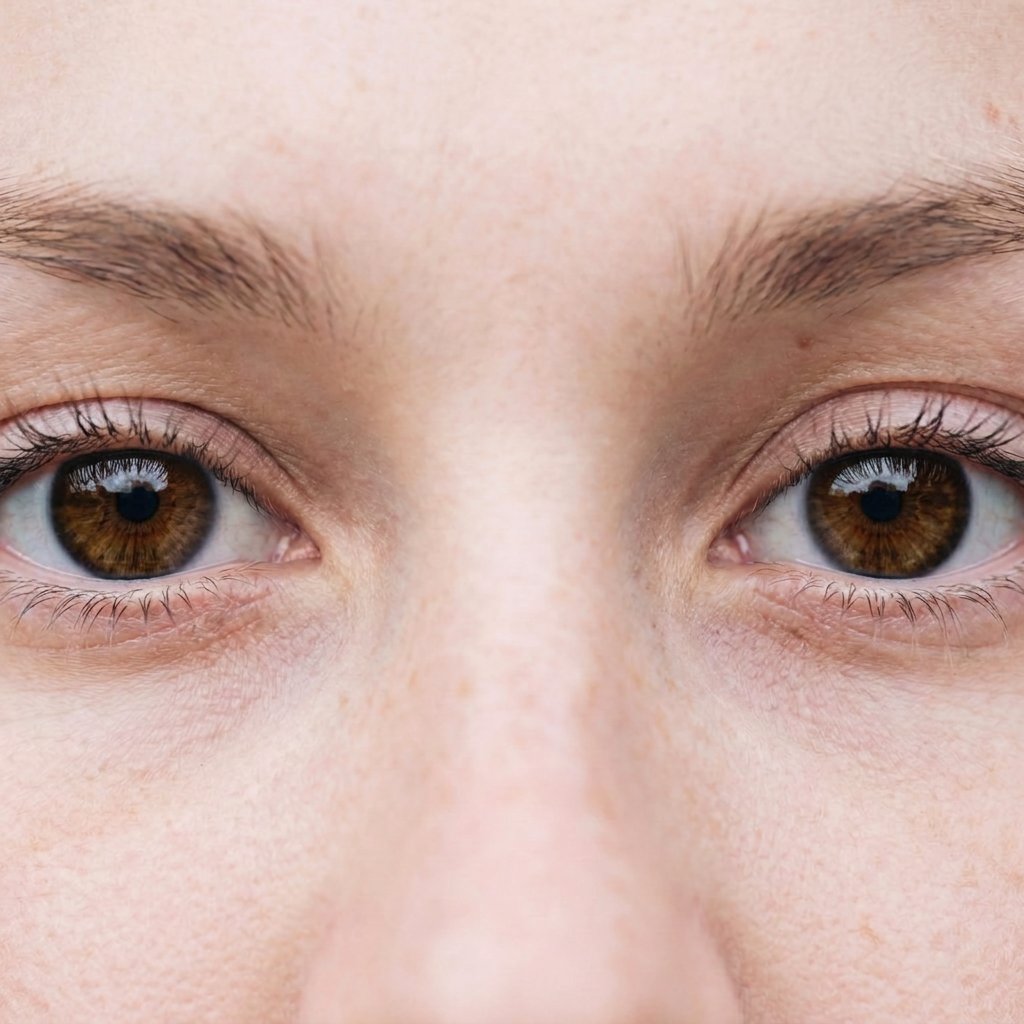
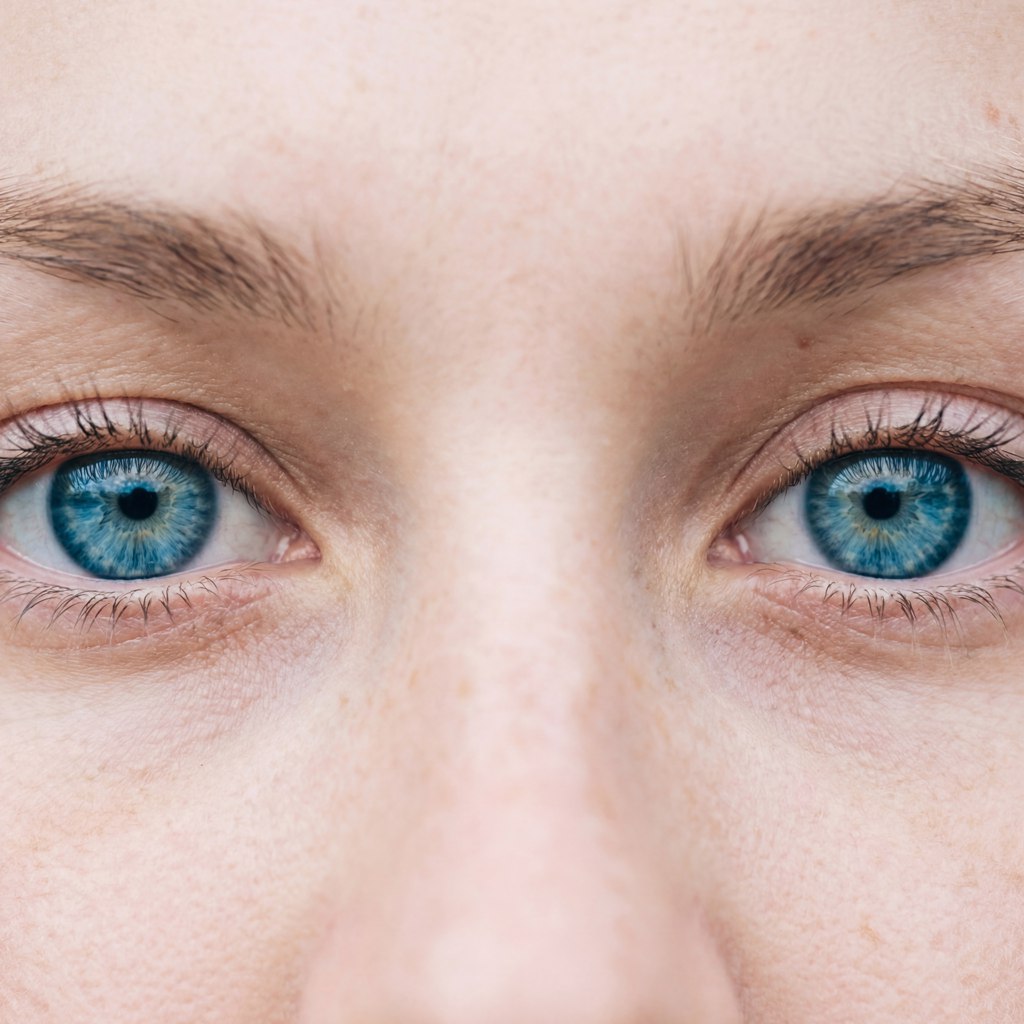
Iris replacement that keeps the natural pattern, highlights and shadows on the sclera. Great for close-up portraits.
Ready-made prompts for face editing
Copy a prompt if you want a more predictable result. The more precisely you describe the edit area and the desired texture, the fewer processing artefacts remain in the final image.
remove beard, moustache and stubble, cleanly shaven smooth skin, keep the same face, pose, lighting and background, natural skin texture, hyperrealistic photo, 4k
shave stubble only, keep facial features untouched, visible skin pores, no plastic look, natural shadows on the jawline, photorealistic retouch, 4k
change eye colour to rich brown, keep the iris pattern and highlights, same eyelashes and eyebrows, natural photographic look, close-up portrait, 4k
virtual braces try-on, realistic metal orthodontic brackets and archwire on upper and lower teeth, same smile and face, natural teeth colour, photographically accurate, 4k
dental veneers try-on, even white teeth, natural enamel translucency, same lips and smile shape, realistic dental photography, 4k
gentle skin retouch, remove acne and redness, keep pores and texture, same lighting and expression, natural portrait, 4k
How to cleanly remove stubble or try on veneers with AI
Face editing quality is rarely random: the model works from facial landmarks and a mask, and it needs a decent source image. The four steps below improve landmark detection and noticeably reduce processing artefacts.
- 1
Shoot front-facing in even light
The face should take at least a third of the frame. Soft diffused light without harsh shadows helps the model find facial landmarks and the borders of lips, cheeks and chin.
- 2
Do not cover your face with your hands
A palm, glasses or hair on the cheek confuse the layer mask: the algorithm cannot tell where skin ends and facial hair begins and leaves seams between the areas.
- 3
Open your mouth for a braces try-on
Veneers and braces demos work best on a smiling shot where teeth are visible. Otherwise the network draws the appliance from the lip shape and the result looks less realistic.
- 4
Do not skimp on resolution
Heavily compressed messenger photos produce soft edges and extra detail. Use a source of at least 1000 px on the long side and upscale the finished result for a clean final image.
How the AI edits a face without warping the features
A face editor combines two models. The first maps the anatomy: face contour, lip line, hair border and pupil position. The second — a generative diffusion model — repaints only the selected region inside a layer mask, matching its light and colour to the rest of the frame.
Editing happens in latent space: the image is encoded, diffusion denoising is applied with a prompt condition, and a decoder rebuilds the picture. That is how a beard or an iris can be changed without repainting the whole portrait.
Finally, upscaling and light post-processing remove processing artefacts and restore skin pores and enamel texture. Narrow datasets are used for specific domains such as teeth and eyes, which is why braces look like a real orthodontic appliance rather than a sticker.
Pick a tool and try it on your own photo
The buttons open the catalog with examples and a start button for each effect.
Ubrat usy borodu photo AI effect
Try it →
Pomenyat tsvet glaz onlayn AI effect
Try it →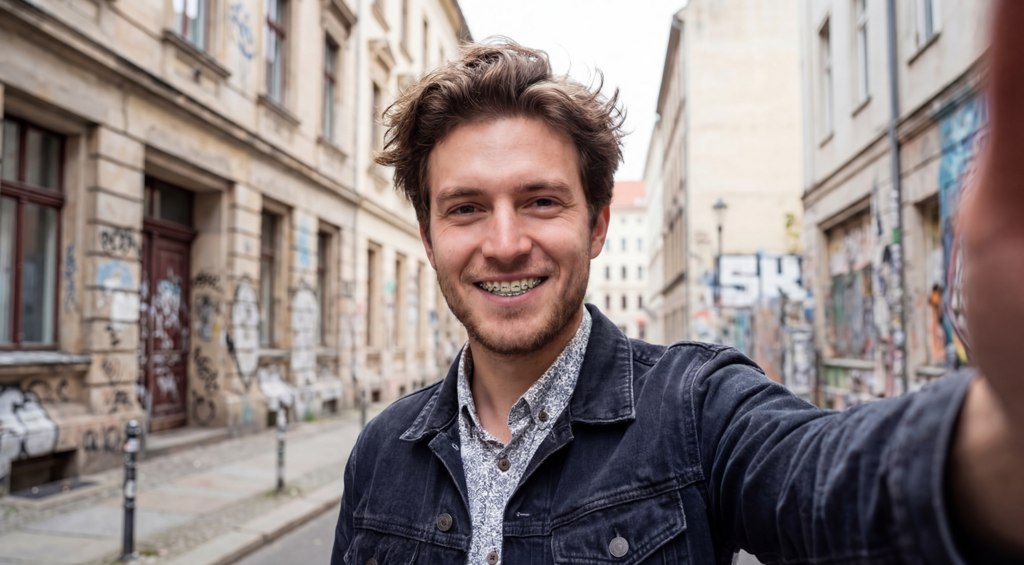
Primerka breketov onlayn maska AI effect
Try it →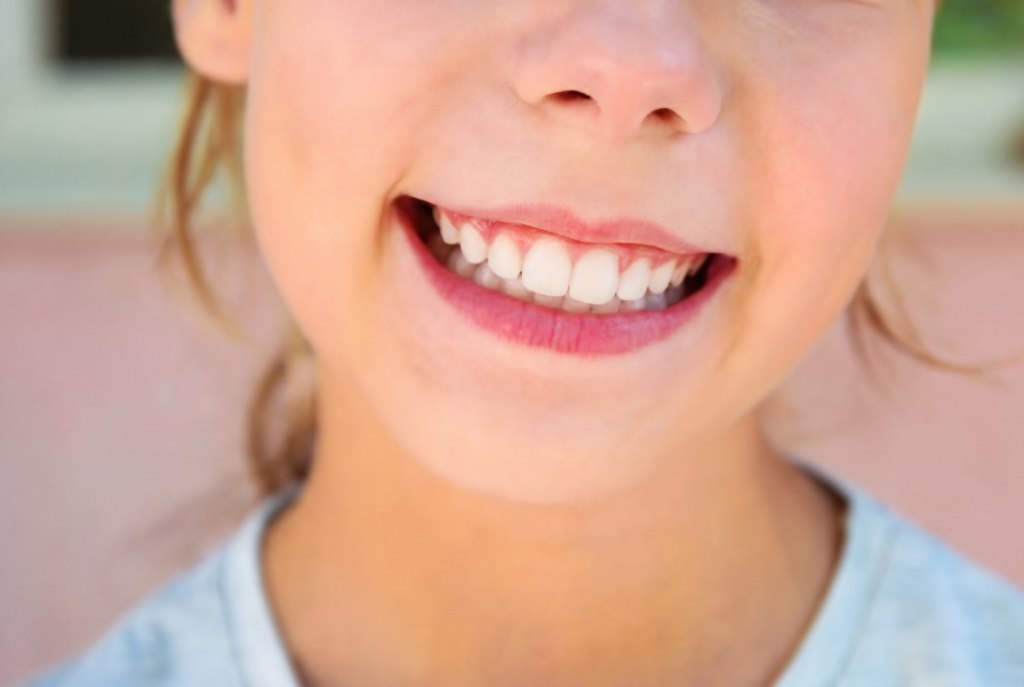
Whitening teeth photo AI effect
Try it →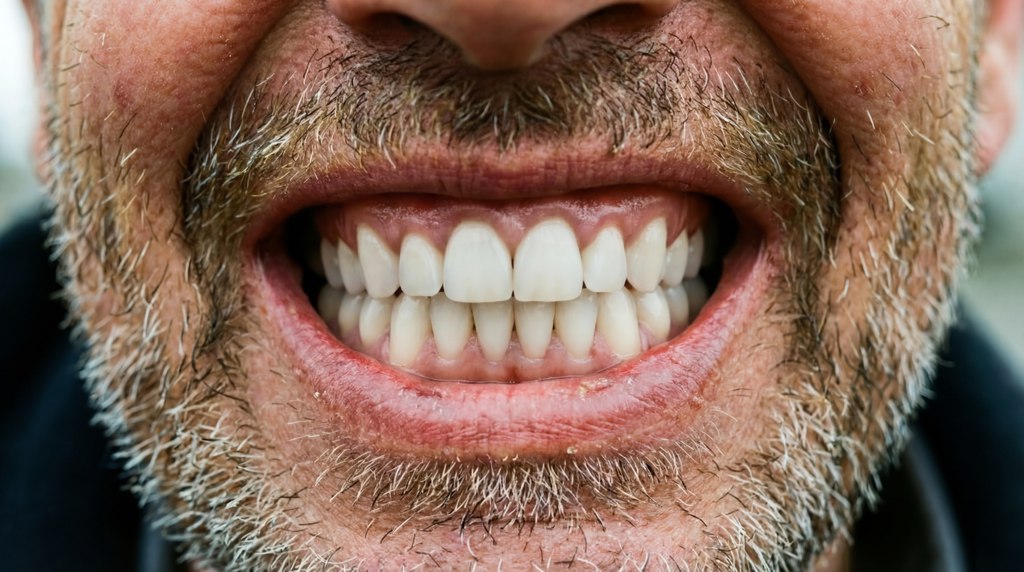
Otbelit zuby photo onlayn AI effect
Try it →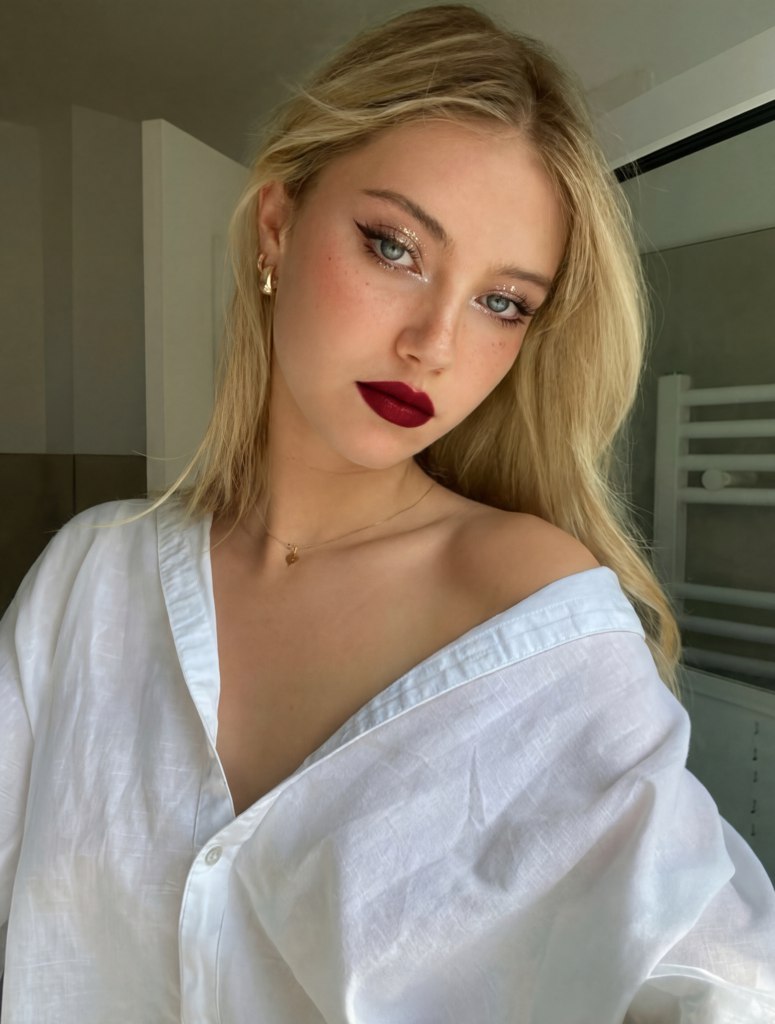
Makeup photo onlayn besplatno AI effect
Try it →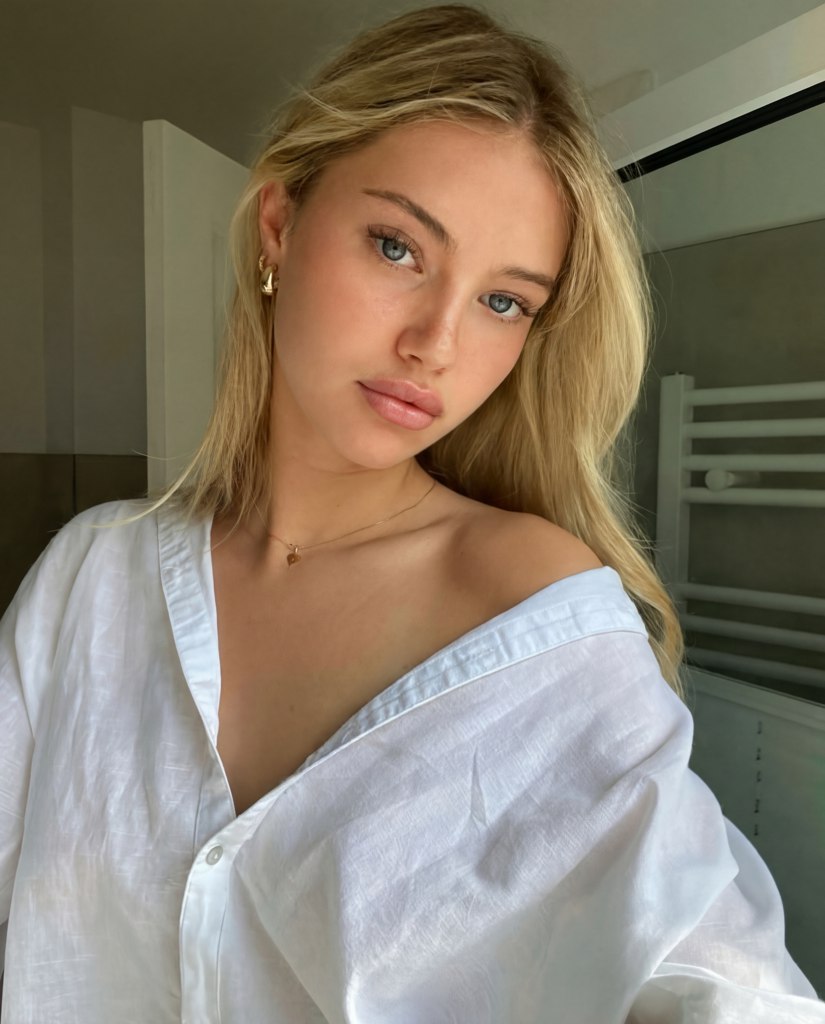
Uvelichenie gub online retush AI effect
Try it →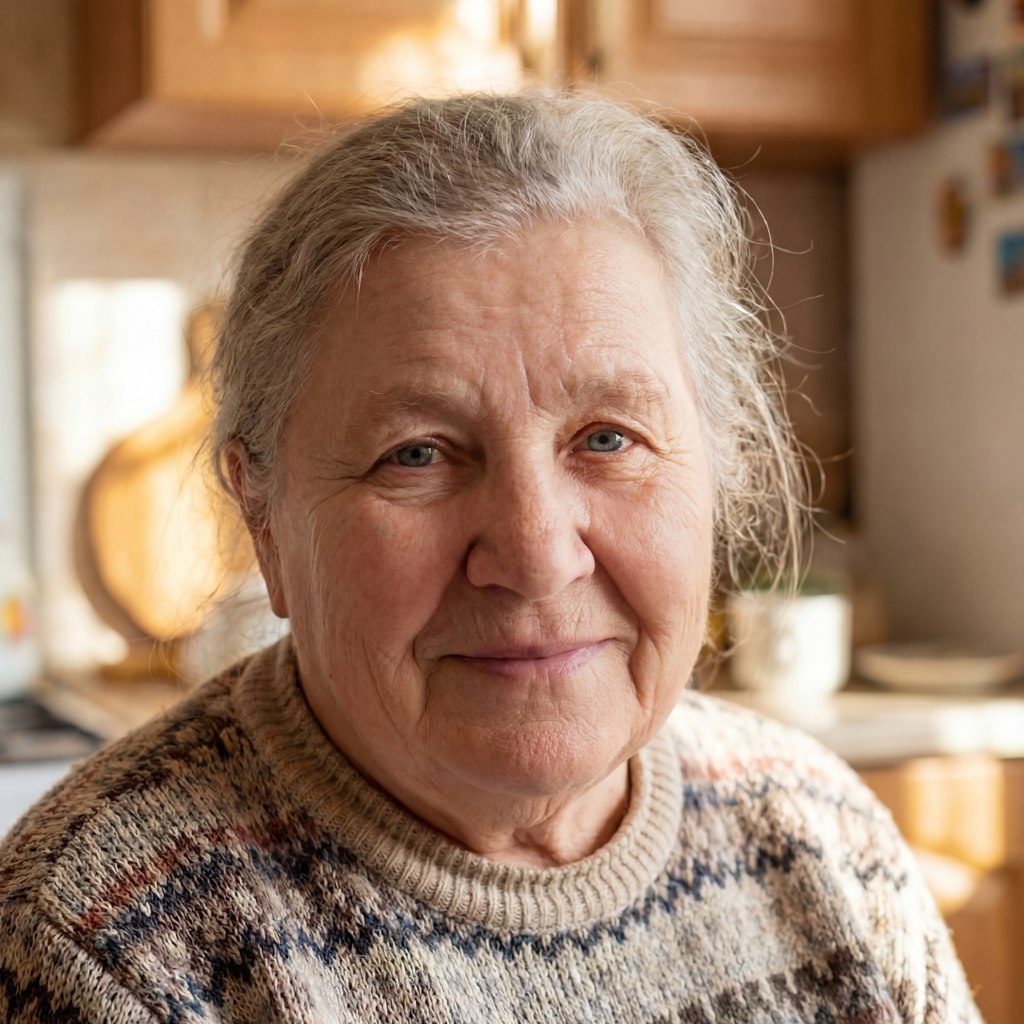
Udalit morschiny photo online AI effect
Try it →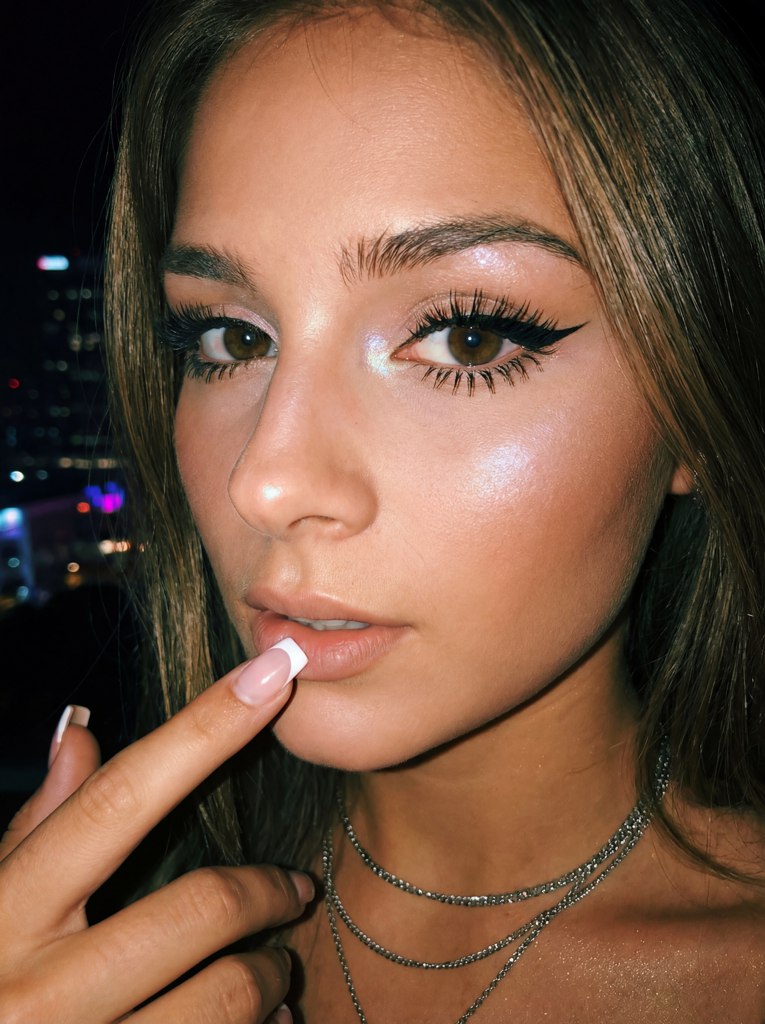
Photo shoot yarkiy makeup AI effect
Try it →.jpg)
Portrait kozhanyh perchatkah AI effect
Try it →What happens to your photos
All uploaded photos are processed in RAM and automatically deleted 10 minutes after generation. We never use your images to train models and never share them with third parties. See the privacy policy for the full rules.
Privacy policy →Frequently asked questions about face editing
Facial landmarks define the jaw, chin and lip contours, the model builds a mask over the facial hair area and repaints it in latent space. The prompt adds a “cleanly shaven, natural skin texture” condition so pores and natural shadows are preserved instead of turning into a blurry patch.
Change your look in one click
Skip complicated Photoshop: open the Lava-Style beauty editor and remove stubble, change eye colour or try on braces in under a minute.
Open the face editor